


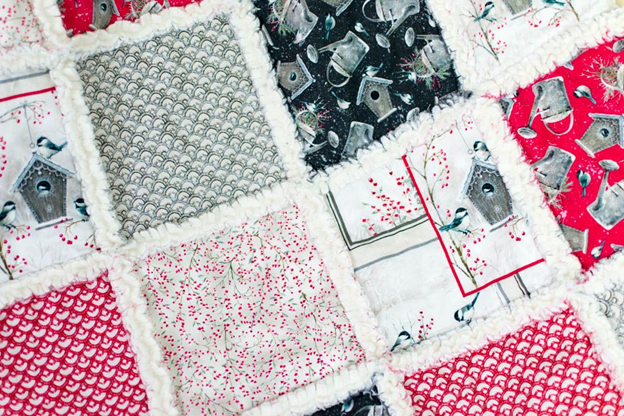
Dreaming of sewing your own quilt but don’t want to commit to buying loads of fabric by the metre? Good news—you can make a full-size quilt using nothing but fat quarters. Yup, those small, square-ish fabric cuts are all you need to turn your vision into something warm, personal, and handmade.
In this step-by-step guide, we’ll walk you through the entire process—from planning and cutting to piecing and binding—using only fat quarter bundles.
First, What Are Fat Quarters?
A fat quarter is a pre-cut piece of fabric, usually measuring 18″ x 22″. Unlike standard quarter-yard cuts (which are long and narrow), fat quarters give you more flexibility in cutting and piecing. They’re especially useful for quilting because they offer a decent chunk of fabric without committing to large yardage.
Want to stock up? Browse premium fat quarter bundles here.
Materials You’ll Need
- 12 to 20 fat quarters (depending on quilt size)
- Rotary cutter and cutting mat
- Quilting ruler
- Batting (size based on final quilt)
- Backing fabric
- Pins or clips
- Sewing machine
- Iron and ironing board
- Binding tape or extra fat quarters for binding
- Optional: Drawstring cord for turning your quilt into a roll-up storage piece
Step-by-Step Quilt Tutorial Using Fat Quarters
Step 1: Choose Your Fat Quarters Wisely
Start by selecting 12 to 20 fat quarters in complementary colours or patterns. Most quilts need at least 3–5 yards of fabric, so plan accordingly. You can go with a coordinated bundle or mix your own from different themes.
Step 2: Cut the Pieces
Using a rotary cutter and ruler, cut each fat quarter into your chosen quilt block shape. Some beginner-friendly block styles include:
- 5″ x 5″ squares (aka charm squares)
- 6″ x 12″ rectangles
- Half-square triangles
The goal is consistency—whatever size or shape you go with, stick to it throughout the project.
Step 3: Layout Your Design
Before you start stitching, lay your blocks out on the floor or a large table. Play around with colour balance and pattern placement until you’re happy. Take a photo so you don’t forget your layout!
Step 4: Sew the Blocks Together
Sew your pieces into rows using a quarter-inch seam allowance. Press seams as you go (either open or to one side). Then sew the rows together, again pressing each seam for a clean finish.
Pro Tip: Sew slowly and use quality thread to avoid tangling or skipped stitches.
Step 5: Add Batting and Backing
Once your quilt top is complete, lay it over the batting and backing fabric. Smooth out any wrinkles and baste the layers together with safety pins or spray adhesive.
Step 6: Quilt It
You can go as simple or as fancy as you like here. Straight-line quilting is a great option for beginners. Use your machine to stitch through all three layers, following the seams or creating a grid pattern.
Step 7: Bind the Edges
To finish your quilt, sew binding around the entire edge. You can use pre-made binding or cut extra strips from your fat quarters. Fold, stitch, and secure your edges for a polished finish.
Bonus Tip: Add a Drawstring for Storage
Want to make your quilt super portable? Add a pouch or strap to one edge, using drawstring cord to cinch it into a roll. It’s a clever way to take your quilt outdoors or store it neatly in a small space.
Final Thoughts
Quilting might sound like a massive project, but using fat quarters keeps it beginner-friendly and budget-conscious. These pre-cut pieces make it easy to dive into quilting without the stress of matching yardage or wasting fabric.
Whether you’re going for bold patterns or a soft, cohesive colour palette, fat quarter bundles make it easy to bring your vision to life. And don’t forget to get creative with details like drawstring accents if you want something functional and fab.
Now, grab your rotary cutter and make something cozy. You’re officially ready to quilt like a pro.